After the mold is cleaned and left to dry for a few days to a week, it is time to make your first cast.
This mold is held together by inner tube rubber, cut into piecesPour the liquid slip carefully into the mold up to the top.
You should put on a timer for about 15 minutes at first, keeping a look out for the level of the slip. As the water is absorbed into the plaster, the level of slip will go down.
Top up the slip as the moisture is absorbed
You will want to experiment on the timing, but for this casting, 30 minutes is about right to cast a piece. However, this could change depending on how many pieces you cast and how damp the mold gets.
When you feel that the casting is thick enough, pour half of the slip back into the container and then swirl the remainder of the slip around the casting for a few minutes before pouring it out.
Place the mold onto an elevated prop to allow the remainder of the slip to drip out.
The mold will now take an additional time to dry enough to remove the piece from the mold. In this case it is 30 minutes of drying time.
Clean the spout hole, being careful to not let the trimmed pieces fall into the sculpture.
When dry and ready to remove the piece, clean the spout hole.
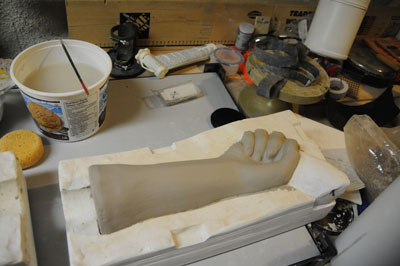
Take the bindings off from the cast and carefully pull the two pieces apart.
One side of the cast has been removed, if the piece is dry enough, carefully pull the sculpture out from the second part of the mold
In this sculpture, the third piece can now be removed as well.
As the pour spout is located at the bottom of the sculpture, we now have to close that opening.
Pour a bit of liquid slip onto a flat plaster bat and place the sculpture on top. This will quickly adhere to the sculpture and create a smooth bottom.
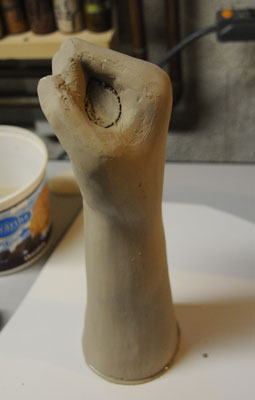
Trim the opening.
Your sculpture will have seams that can now be cleaned up and you can cut out the opening to the vase, again being careful not to allow the piece to fall into the sculpture.
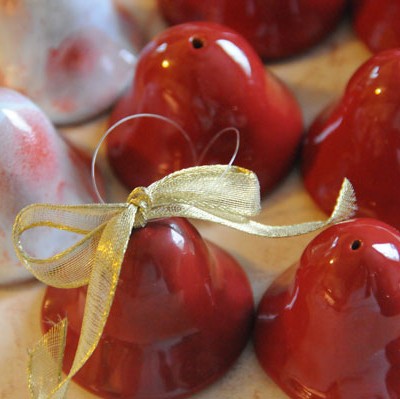
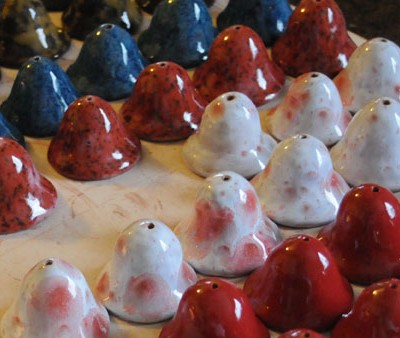
ten castings coming out of the bisque kiln.
And there you have it, the end result, bisque fired and ready to glaze.
We thought that you (and our fellow members) would be interested in seeing where the potters that belong to the guild work at creating their wares. There must be a reason that studio tours are so popular!
We have a few members that have space in our studio, but because a lot of our members have been potters for years, they have been able to carve out a space in their homes where they can work. In some cases, our potters are full time artists and this is how they make their living, in others, it is a passion that they do in their “spare” time.
I thought I would start us off today. We hope that you enjoy the peek into where we work, and will find that it doesn’t matter how fancy the space is.
Mary Sullivan
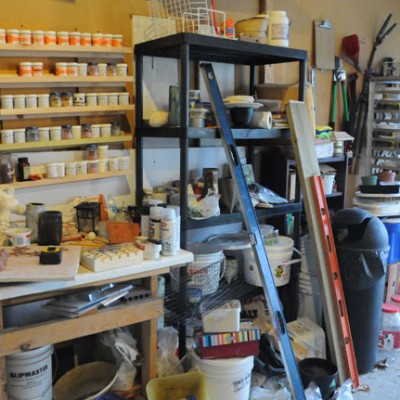
I’m the website designer for the guild and web designing is also my day job. So I already have a room in my home that I use as my office. However, when we moved into our home in 2002, I commandeered a spare bedroom that didn’t have carpet or even proper flooring, it has large wooden panels that are painted. Little by little I have stuffed that poor room with all sorts of art supplies, be it acrylics, beads, paper making, you name it, I have some of that material in my Art Room. Then the clay started. I’ve been making sculptures of various things for years. I took a course many years ago where we sculpted with clay, but we then made a plaster cast of the piece and it was cast in a cement material. But in 2004 I bought myself my own kiln, as I wanted to make clay sculptures that were fired.
It’s likely not a very healthy idea to work with clay in a bedroom that is across from the room that you sleep in. Yet I have been doing that for over 8 years now. (oh well, we’ll all die of something) But the room was getting more and more cramped and I was not able to move or find a place to put down anything. Plus, I have my kiln out in the garage, my pugmill and extruder in the basement and I found that when I was in my art room I needed something from the garage, or if I wanted to pug some clay for a piece, I had to lug the clay down two flights of stairs, pug it and then lug it back up again. And clay ain’t light!
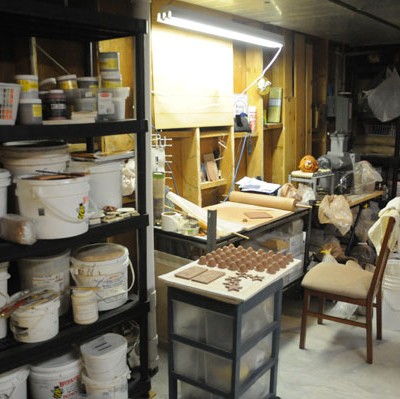
This summer I discussed an idea with my husband as it meant taking up a bit more room. I decided to make a quarter of the basement my pottery studio. The guild renovated our glaze area and there was an extra table that they were going to return and I promptly bought it. A friend and I set up the new space and I have to say it is so much easier to be productive now! I have my dry ingredients for glazes still outside, as it is safer for me to mix them there (you shouldn’t breathe that stuff in!) and the kiln is in the garage too, but everything else is in my space in the basement. I have one table to work on, right beside my pugmill, so if I need to soften up some clay from the many bags I have (see picture) it is easy to just move over and then start sculpting. I have a number of drywall boards cut into a manageable size and I place my work to dry (tiles especially, as they will warp if you let them dry without a bit of weight on top) and then they double as trays to take upstairs to load into the kiln! I have boards with cloth on them, one for white clay and another for brown, and I work on those and can easily swap them around. I’m close to the sink (it is my laundry room too) and I can rinse down anything to avoid dust.
On the other side of the room is the glazing area. I have my underglazes on the shelf under the table, and I can quickly bring out the ones I need, and when I’m not glazing I can use this table as a place for some work to dry.
I’m finding myself a lot more productive now that I have all my tools in one place and eventually I will put some shelves up and boards to show my test tiles for easy reference. I look forward to seeing everyone at the sale, this is my first year back for at least five years.
This is my work area now. To the left are some ready mixed glazes, and I have two really good lights that allow me to see. I couldn’t work without my iPod full of stories and podcasts though!
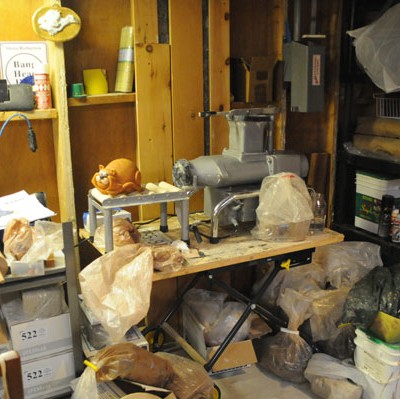
Here is my lovely pugmill with the bags of clay below. I hope not to buy any clay for a year and try to use all of this up! I have to say, I love my pugmill.
Here is the glazing table.
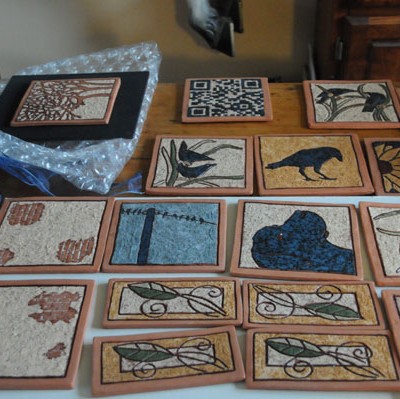
Here are some tiles that have been cleaned and are ready to load into the kiln.
Here are my dry glaze ingredients as well as a table to put things while I load the kiln.
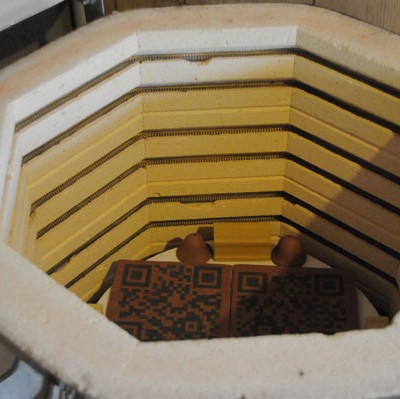
The kiln is in the corner of the garage, and some fireboard protects the two corners of the garage from heat (not that it really needs it)