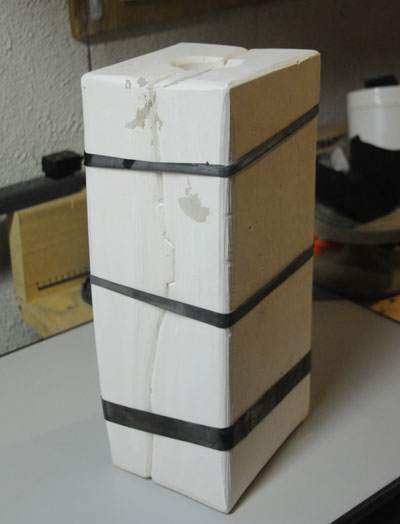
After the mold is cleaned and left to dry for a few days to a week, it is time to make your first cast.
You should put on a timer for about 15 minutes at first, keeping a look out for the level of the slip. As the water is absorbed into the plaster, the level of slip will go down.
You will want to experiment on the timing, but for this casting, 30 minutes is about right to cast a piece. However, this could change depending on how many pieces you cast and how damp the mold gets.
When you feel that the casting is thick enough, pour half of the slip back into the container and then swirl the remainder of the slip around the casting for a few minutes before pouring it out.
Place the mold onto an elevated prop to allow the remainder of the slip to drip out.
The mold will now take an additional time to dry enough to remove the piece from the mold. In this case it is 30 minutes of drying time.
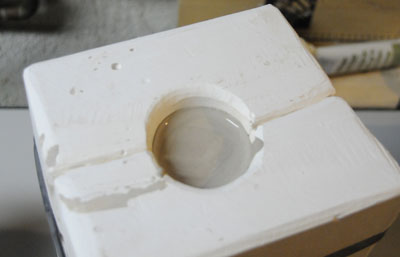
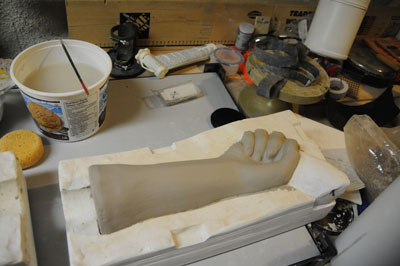
When dry and ready to remove the piece, clean the spout hole.
Take the bindings off from the cast and carefully pull the two pieces apart.
In this sculpture, the third piece can now be removed as well.
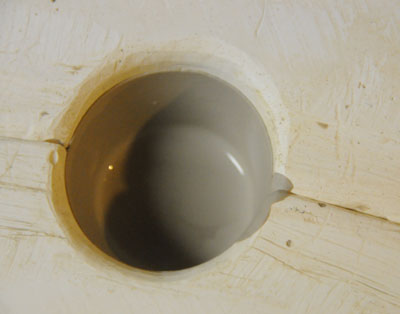
As the pour spout is located at the bottom of the sculpture, we now have to close that opening.
Pour a bit of liquid slip onto a flat plaster bat and place the sculpture on top. This will quickly adhere to the sculpture and create a smooth bottom.
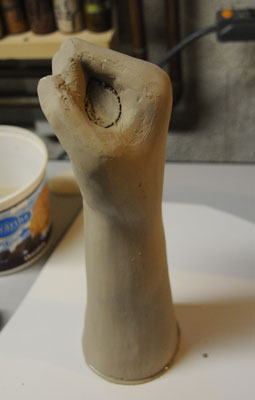
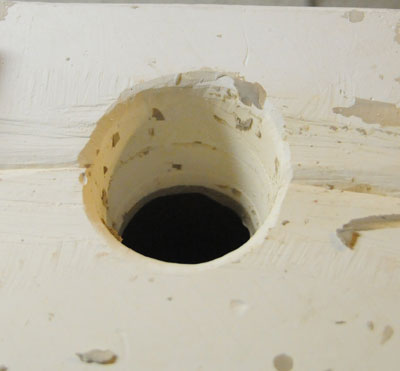
Your sculpture will have seams that can now be cleaned up and you can cut out the opening to the vase, again being careful not to allow the piece to fall into the sculpture.

And there you have it, the end result, bisque fired and ready to glaze.