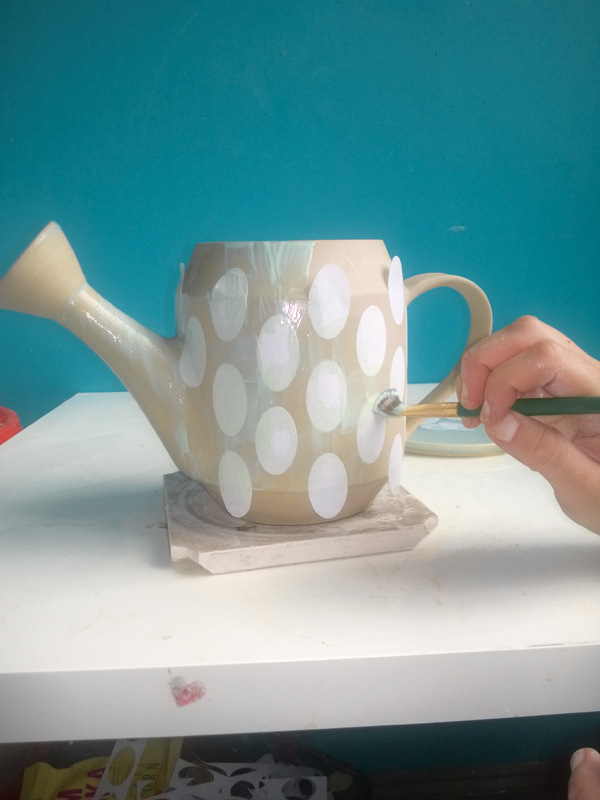
.gif) I’ve been thinking of some sculptures I want to make in the next few weeks and I find that potters often have to be architects (among other things) as well as being artisans. For example, when you fire your work, you have to have a part that is unglazed that can rest on the floor of the kiln. Now that sounds sensible and easy enough, but sometimes it’s more complicated than that. When firing Christmas bells, for example, I created a series of stalagmite shapes and rested each unglazed interior of the bell onto a stalagmite to fire. They all looked like colourful mushrooms when the kiln was opened. Now I want to make flowers that have the regular petals but also attach a receptacle to the bottom. How on earth would you fire that? The answer is to fire it upside down with a stilt that rests on the inner seed pod of a flower. I’ve used it before, but will be trying some other ideas and will let you know how they work.
I’ve been thinking of some sculptures I want to make in the next few weeks and I find that potters often have to be architects (among other things) as well as being artisans. For example, when you fire your work, you have to have a part that is unglazed that can rest on the floor of the kiln. Now that sounds sensible and easy enough, but sometimes it’s more complicated than that. When firing Christmas bells, for example, I created a series of stalagmite shapes and rested each unglazed interior of the bell onto a stalagmite to fire. They all looked like colourful mushrooms when the kiln was opened. Now I want to make flowers that have the regular petals but also attach a receptacle to the bottom. How on earth would you fire that? The answer is to fire it upside down with a stilt that rests on the inner seed pod of a flower. I’ve used it before, but will be trying some other ideas and will let you know how they work.
A recent article that I found through Pinterest talks about making your own stilts and it is very informative to those who have never used stilts or never thought to create them on their own. Thank you Jenny Ward for the great article.
Making Kiln Stilts
 I have a decent selection of store bought stilts for the occasional need to glaze a project completely. Most of the stilts are for something at least 3″ across so that the object balances evenly on the stilt, but one of my students wanted to make marbles- smaller than an inch across sized marbles. While I thought her plan of designing and carving these tiny sculptures was a great idea, I also explained that if she wanted to use glaze on the entire surface, I had no way of supporting them in the kiln on my existing stilts. She took a second to think about it and then asked if she could make her own stilts with the nichrome wire that I use in my work often- and she did. We bisque fired her tiny stilts and marbles and when she glazed them, each one was propped on its own individually made stilt and placed in the kiln. They worked brilliantly and since then I’ve started making all of my own stilts.
I roll out a slab of clay on my slab roller and use cookie cutters to cut out as many shapes as I can fit on the slab. Then I use nichrome wire and cut it into short lengths, trying to be as consistent as possible with the size and also trying to cut the wire on a sharp angle so that the pointiest part is what will touch the glaze and I stick them evenly spaced into the clay shapes. I use a medium gauge nichrome wire for this, if it is to thin, they tend to sag in the firing while supporting your piece or wear out quickly, too thick and they leave a heavier mark in the glaze for you to grind out afterwards. If you have left over element pins, these work great too for holding sturdier pieces. Each piece is dried and bisque fired and then you are good to go. My stilts get a lot of kiln time and eventually wear out but then I just crank out a new batch and I’m set to go again.
I love that the ingenuity of my students, not only made me look at my existing supplies in a new way but they also don’t let the studio limitations limit their work. #mystudentsrock From www.jenniward.com