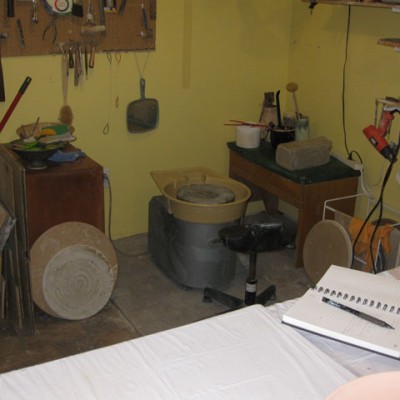
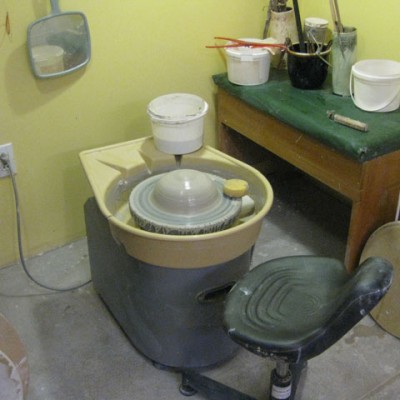
My studio is just a small downstairs bedroom that has been converted. I have a throwing area that has protective thick plastic sheeting on the floor – I am a little messy!, a working table, drying shelves and storage shelving along the wall – although there never seems to be enough storage space. My husband just built a shed for me so I could store my materials for glass mosaics and stone carving. This really helped in keeping my studio space organized and more stream-lined although it may not look like it.
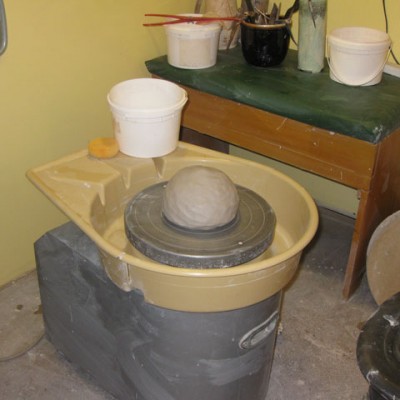
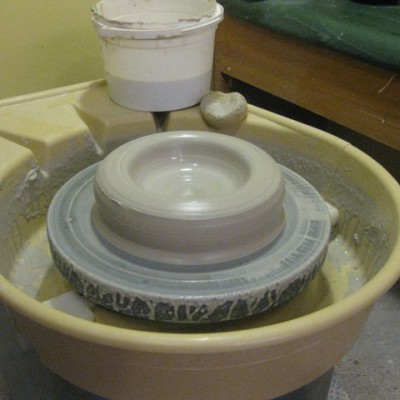
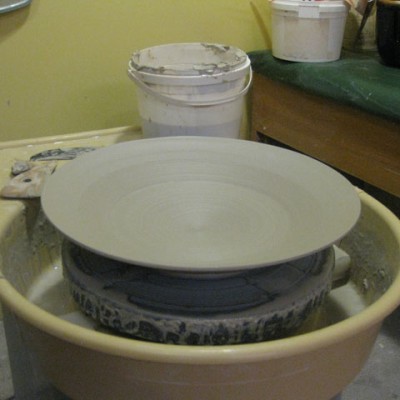
The following pictures show the stages of throwing – it this case a bowl. First I weigh out the amount of clay I will need and form a ball. This ball of clay needs to be centered on the wheel. This is a crucial step. If the clay is not centered – you’re not going to be able to throw anything. Once centered, the clay is opened and the walls of the form are pulled up and shaped. It may take 2 or 3 pulls to bring the clay up to the height and thickness you want. The final shaping of the form is often done with a rib. The rib helps compress the clay and smooths out any throwing lines.
The form is then moved to the drying racks. It often takes a few days for the form to dry out to a leather hard stage. At this point, the form is returned to the wheel and the bottom rim in trimmed out, giving a nice foot rim. Once completely dry to the touch, the form is bisqued fired in the kiln to take out any moisture in the clay. Glaze is applied to the bisqued ware and a final glaze firing is done.
Click on any image to enlarge.

