This is pretty cool. It is fun when one art form meets another, or an old art form meets technology.
Experimental animation meets pottery from Crafts Council on Vimeo.
To Teach, To Learn, To Share
This is pretty cool. It is fun when one art form meets another, or an old art form meets technology.
Experimental animation meets pottery from Crafts Council on Vimeo.
Don’t forget that we are having an Open House on Saturday and Sunday at our permanent location at 993 Talwood Drive in Peterborough. There will be demonstrations, goodies and you can tour our facilities. The Kawartha Woodturners’ Guild, Peterborough Handweavers’ and Spinners’ Guild as well as Gourds from the Canadian Gourd Society. Drop in while you are doing your Christmas shopping and visit us for some hot cider and other refreshments.
We look forward to seeing you here!
People’s Choice voting is underway on the year in review 2013. Brenda has created a portfolio here and is asking anyone who is interested to vote for her.
 Join Princess Gardens on Tuesday December 10th from 2pm – 4pm for entertainment, prizes and lots of different goodies with your tea. Call Jillian at 705-750-1234 ext. 5014 to make a reservation. Tickets cost $10.
You help the YWCA as well as other women’s shelters when you have your tea and goodies.
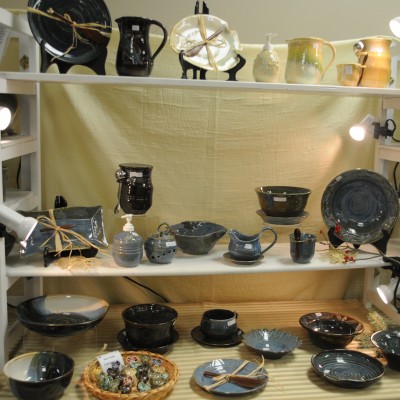
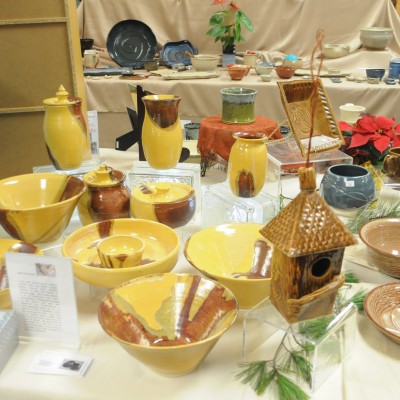
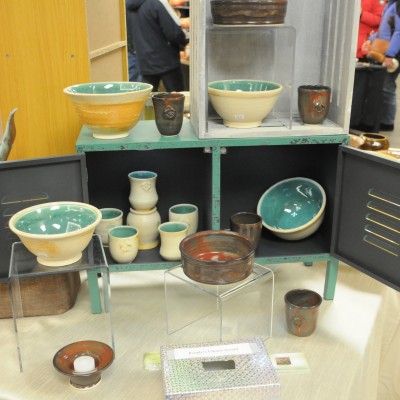
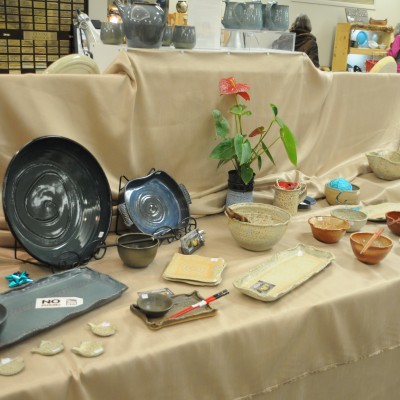
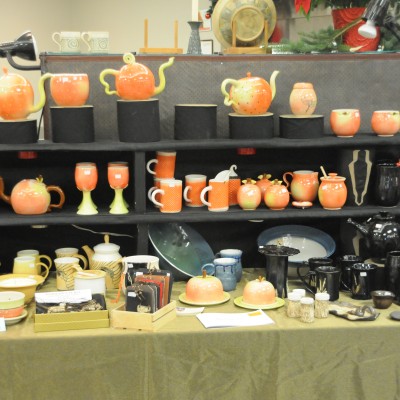
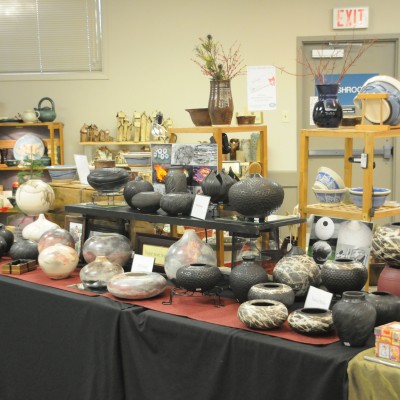
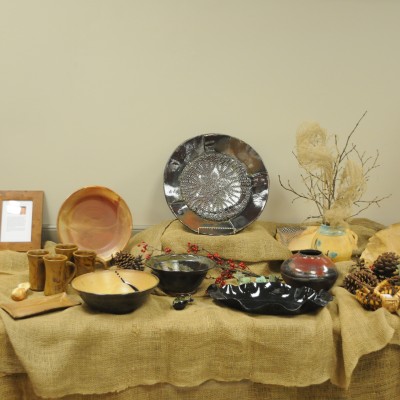
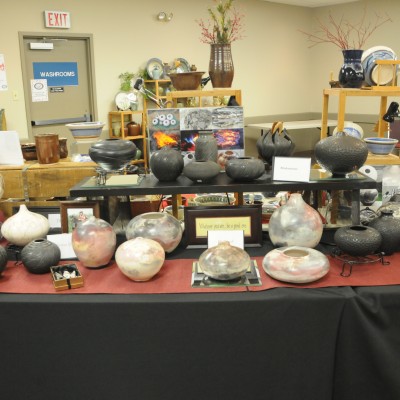
We’ve been having lots of fun. We’ve had plenty of people come to visit us at our Christmas sale this weekend and we are still open until Sunday at 4pm! We hope to see your there.
In the meantime, we have two galleries of images for you to see! Click on any image to scroll through larger versions of the images.

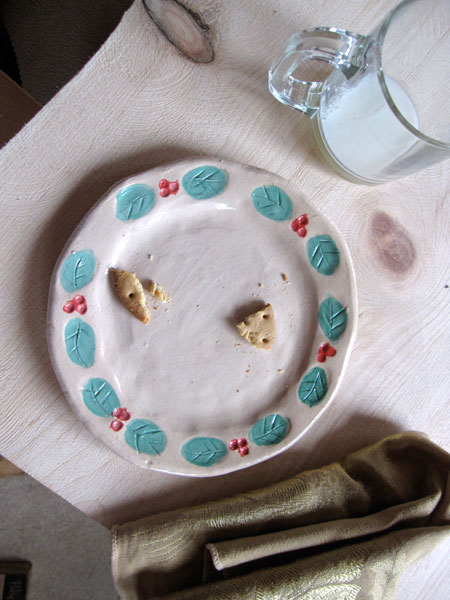
We have now got the form online for all you eager beavers to sign up for our January classes. Check out our Classes page here. We also have one more Family Clay day coming up on December 7th and you can also sign up for that too. You get to make a plate for santa!
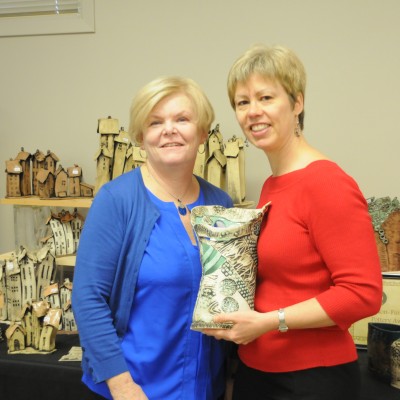
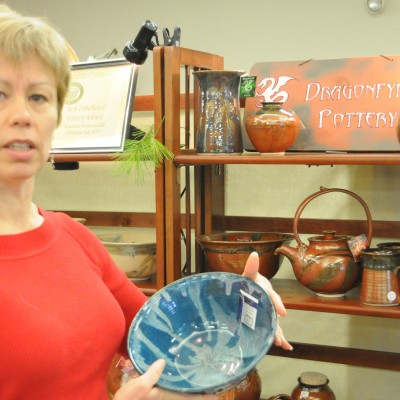
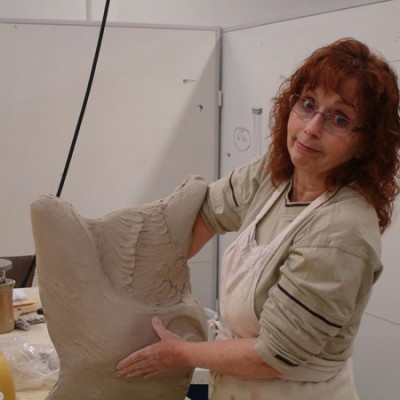
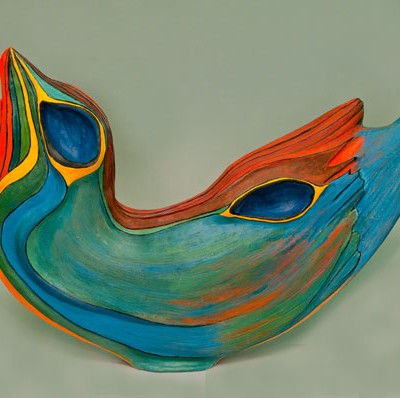
Brenda is one of our longest potting members. Here she is getting ready for our show at Peterborough Lion’s Centre. Brenda Sullivan is now showing ten sculptures from her show “Natural Revelations” at the new location of The Gallery on the Lake, 268 Port Perry, ON. But make sure you come to see her and all the other artists at our show on the 29th, 30th November and 1st December!
Click on any image to enlarge the view.
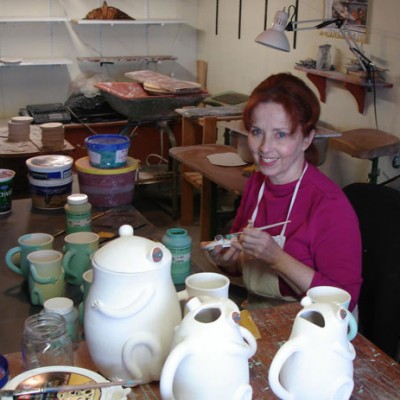
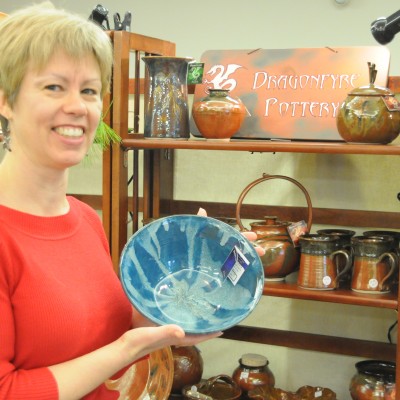
Cathy is our Facebook and Twitter-ess. She also takes quite a few of the photos of various events. She posts all the wonderful things that we are doing, and keeps our public informed! Here she is getting ready for our upcoming show.
Click on any photo to enlarge it.

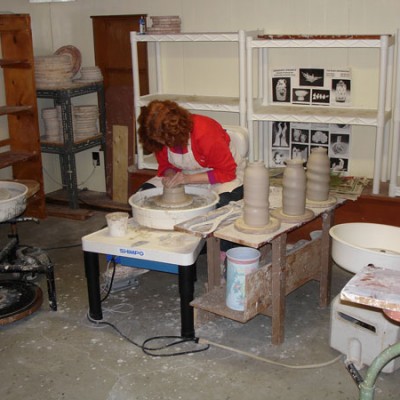
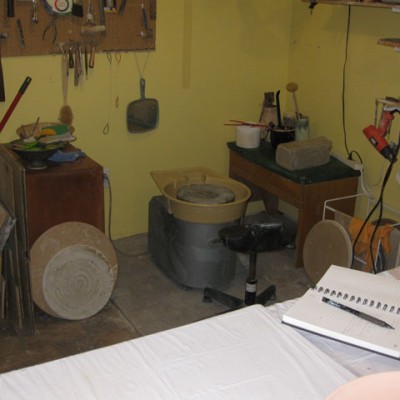
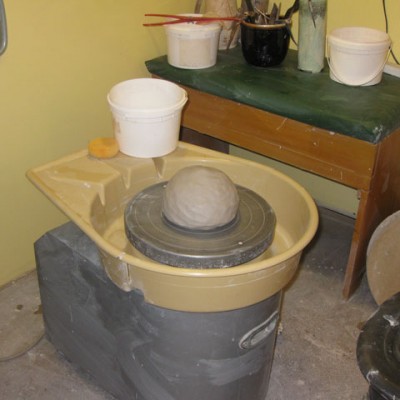
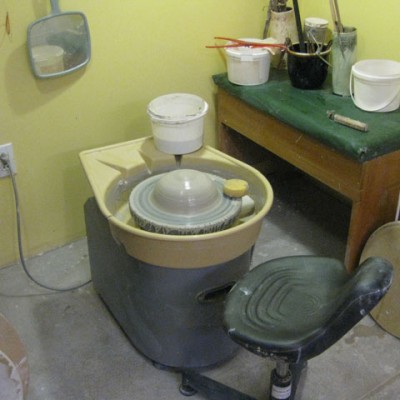
My studio is just a small downstairs bedroom that has been converted. I have a throwing area that has protective thick plastic sheeting on the floor – I am a little messy!, a working table, drying shelves and storage shelving along the wall – although there never seems to be enough storage space. My husband just built a shed for me so I could store my materials for glass mosaics and stone carving. This really helped in keeping my studio space organized and more stream-lined although it may not look like it.
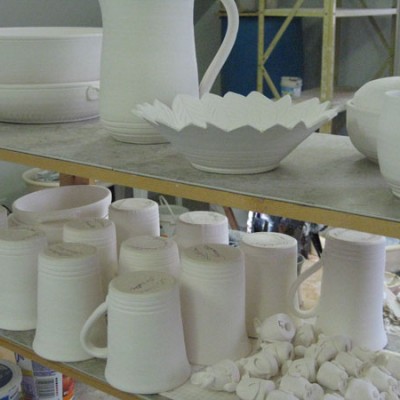
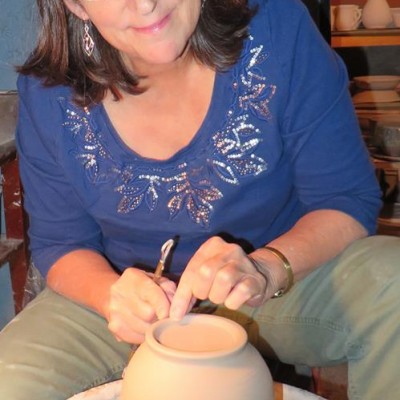
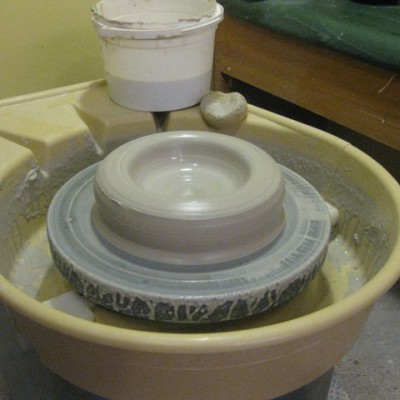
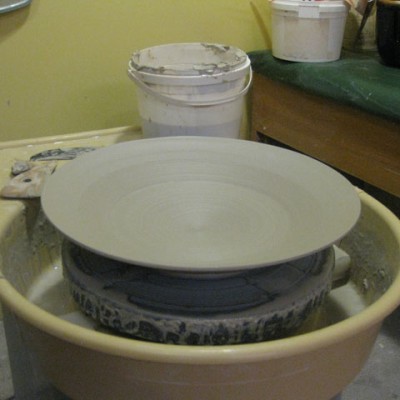
The following pictures show the stages of throwing – it this case a bowl. First I weigh out the amount of clay I will need and form a ball. This ball of clay needs to be centered on the wheel. This is a crucial step. If the clay is not centered – you’re not going to be able to throw anything. Once centered, the clay is opened and the walls of the form are pulled up and shaped. It may take 2 or 3 pulls to bring the clay up to the height and thickness you want. The final shaping of the form is often done with a rib. The rib helps compress the clay and smooths out any throwing lines.
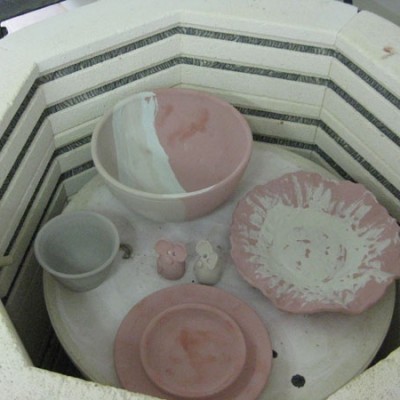
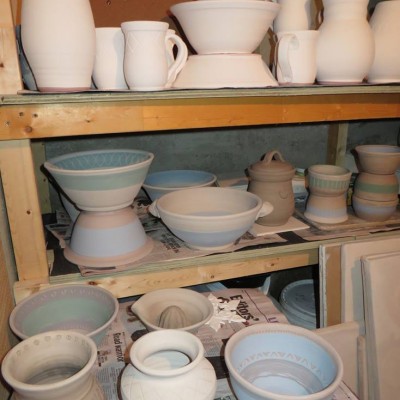
The form is then moved to the drying racks. It often takes a few days for the form to dry out to a leather hard stage. At this point, the form is returned to the wheel and the bottom rim in trimmed out, giving a nice foot rim. Once completely dry to the touch, the form is bisqued fired in the kiln to take out any moisture in the clay. Glaze is applied to the bisqued ware and a final glaze firing is done.
Click on any image to enlarge.
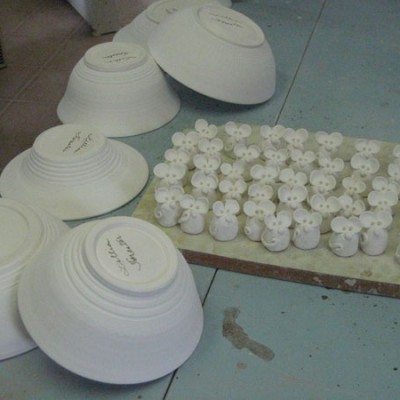
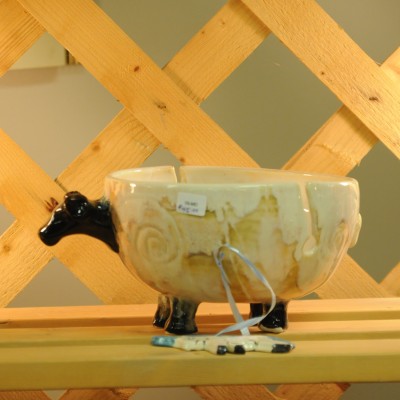
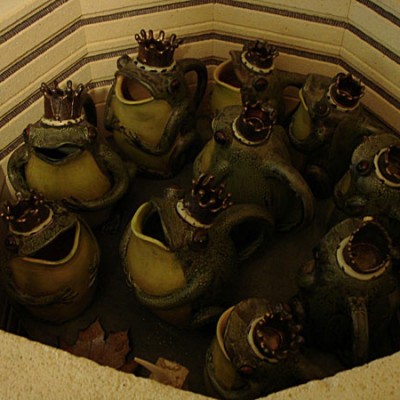
Lillian Forester is famous for her cheese mice. The perfect little friends to accompany your cheese tray! These cute little fellows won’t even nibble! Like the rest of us, Lillian is getting ready for the show, and has her kiln loaded and ready to go. Check out her beautiful work, before it is even glazed!
Click on any image to enlarge it.